Users & Access Management
User accounts in OwnStak Console provide authentication and access to the platform with different permission levels:
| Role | Description |
|---|---|
| Admin | Has full control over organization settings, users, and all projects |
| Editor | Can view and make new deployments but not manage organization and projects |
| Viewer | Can only view projects |
Best Practices:
- Apply the principle of least privilege when assigning roles
- Regularly audit user access
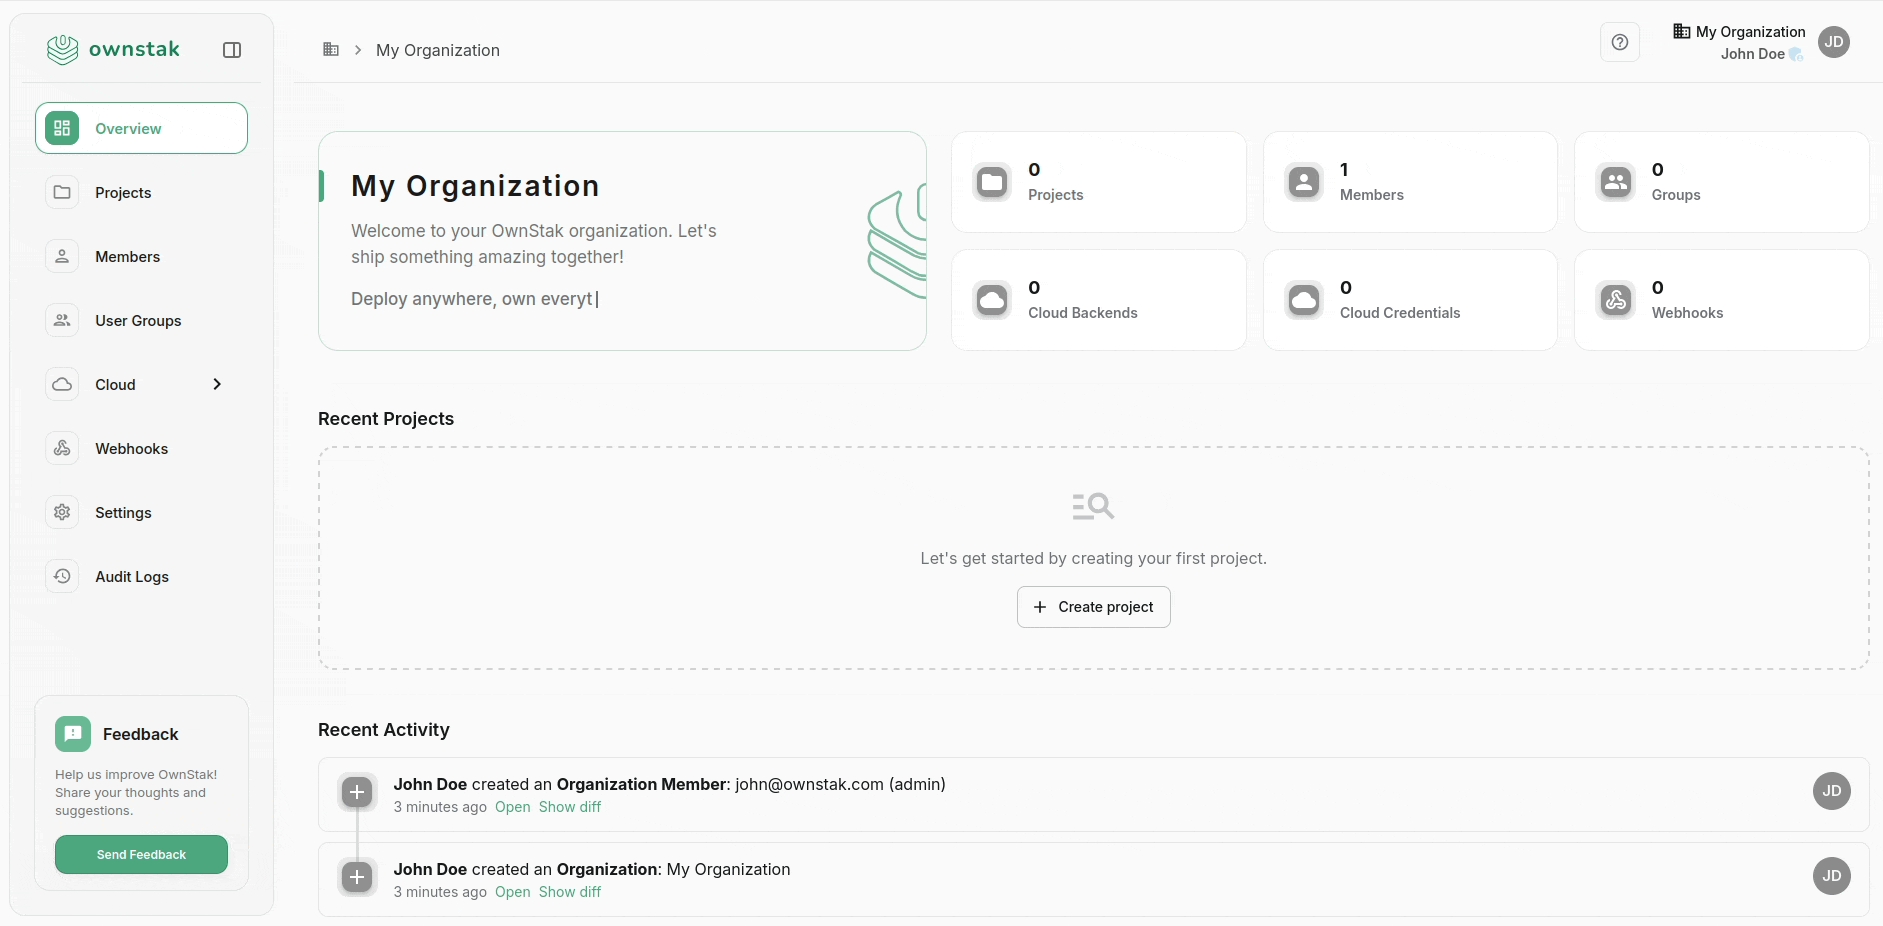
Organizations
Organizations are top-level entities that group projects, cloud backends, users, and other resources together.
Creating an Organization:
- Navigate to the Organizations page
- Click "Create Organization"
- Provide a name
- Invite team members
Projects
Projects represent individual applications or services you want to deploy and manage.
Project Capabilities:
- Multiple environments (development, staging, production)
- Application-specific configuration
- Team access controls
- Deployment history
Creating a Project:
- Navigate to the Projects page
- Click "Create Project"
- Configure settings and create your first environment
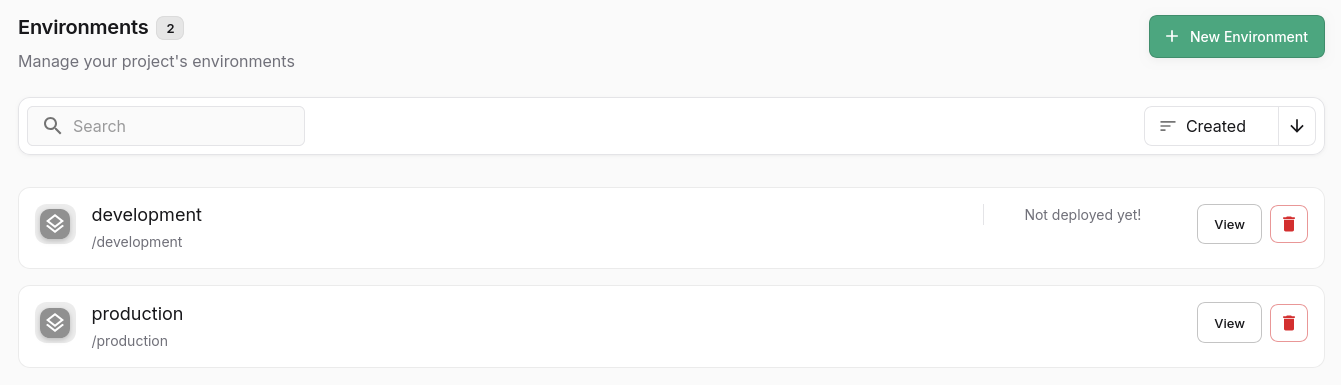
Environments
Environments provide isolated deployment targets for your applications. Each environment has its own configuration such, environment variables and environment links.
Common Environment Types:
- Development: For active development and testing
- Staging: Pre-production testing
- Production: Live environment for end users
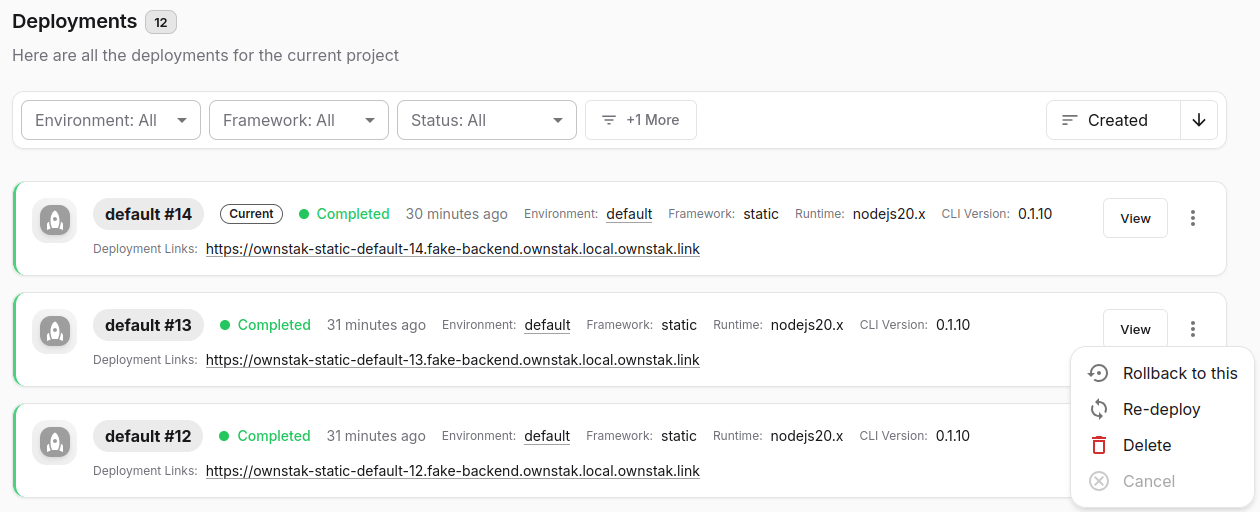
Deployments
Deployments represent specific version states of your project. While environments can represent branches, deployments capture the exact state of your code, assets, and configuration at a particular point in time.
Zero-Downtime Deployments and Rollbacks
OwnStak provides zero-downtime deployment switches by deploying a new version and moving the current alias to the new version at the network level when all health checks pass. This ensures your application remains available to users throughout the entire deployment process.
Rollbacks work similarly but in reverse. They instantly switch the current alias back to a previously deployed version without requiring new code or assets upload. This allows you to immediately recover from issues in production, enabling you to quickly restore service while investigating problems with the newer deployment.
Deployment Actions
| Action | Description |
|---|---|
| Deploy | Creates a fresh deployment using npx ownstak deploy command with new code/assets and sets it as the currently active deployment for the given environment when all health checks pass. |
| Re-deploy | Performs re-deployment of the same deployment with updated environment configuration and variables from the UI without changing the currently active deployment for the given environment. |
| Rollback | Performs instant rollback to a specified deployment version from the UI and sets it as the currently active deployment for the given environment without the need to deploy a new version of your project with reverted code. |
| Retire | Cleans up currently inactive older deployments of your project when they are no longer in use but keeps the deployment code and assets for future on-demand revivals. This action is performed automatically in the background by the OwnStak Console to save space and costs. |
| Revive | Re-deploys the previously retired deployment on-demand when a user visits its deployment link. This action can take several seconds. |
| Delete | Permanently deletes the deployment as well as its code and assets. A currently active deployment that handles production traffic cannot be deleted. |
| Cancel | Cancels the draft/pending/in-progress deployment if it's still in a state that can be aborted. |
Best Practices
- Test in development/staging environments first.
- Keep a few recent deployments for quick rollback.
- Monitor application health after switches.