Prerequisite
AWS Account
We recommend creating a dedicated AWS account within your organization for better isolation and cost management. This approach:
- Clearly separates OwnStak deployments from other AWS resources
- Makes it easier to track and manage costs related to OwnStak deployments
- Simplifies security and access control management
To create a new AWS account within your organization, follow the AWS documentation.
AWS VPC
You can use the default AWS VPC, as internal resources are protected from Internet access via strict Security Groups. However, note that upstream API requests will use automatically assigned IPs.
If you need fixed IPs for outbound requests (for example, to whitelist them in third-party services), we recommend creating a VPC with private/public subnets and a NAT Gateway. This setup provides a static IP address for all outbound traffic from your OwnStak resources.
For detailed instructions, see the AWS guide on generating static outbound IP addresses.
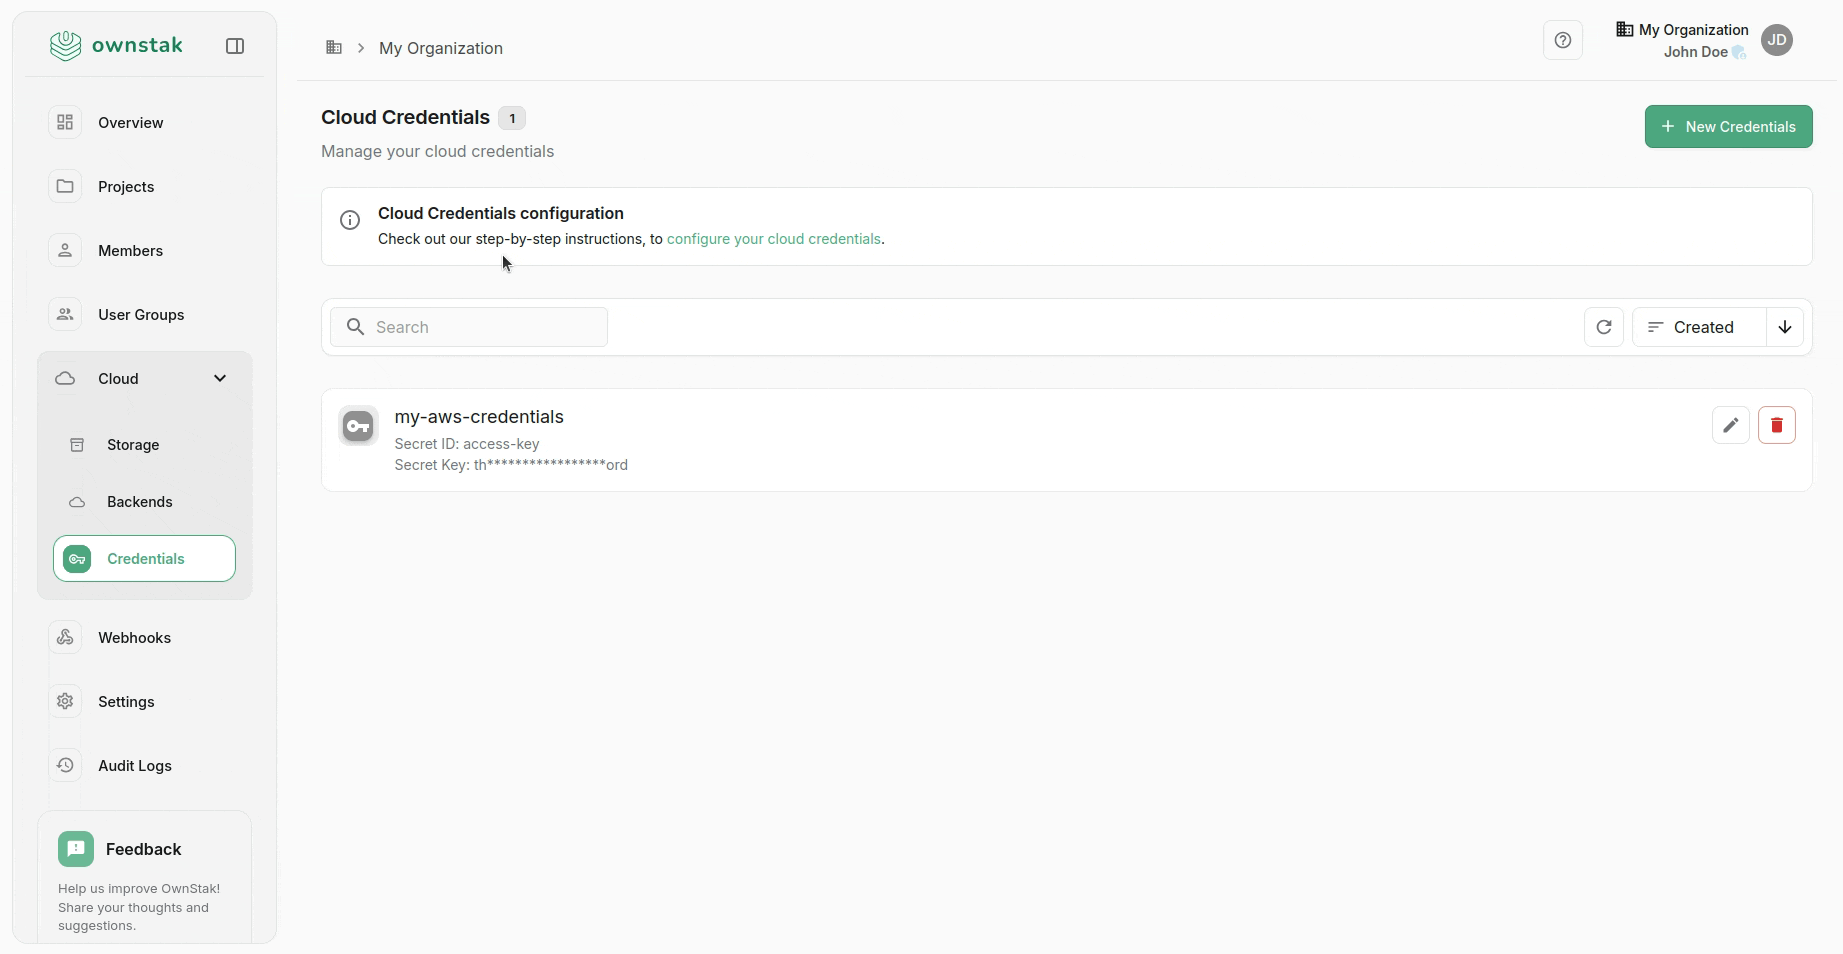
Cloud > Credentials
To allow OwnStak to deploy resources to your AWS account, you must create appropriate credentials using our predefined IAM roles template.
Setting Up IAM Roles
We provide two IAM roles templates that you can deploy to your AWS account:
- Standard Template: Includes broad permissions for maximum flexibility
- Minimal Template: Includes only essential permissions for current functionality
Automatic External ID Generation: The template automatically generates a secure External ID and stores it in AWS Secrets Manager. You must retrieve this External ID and use it when configuring credentials in the OwnStak console.
For detailed information about the permissions in these templates, see the IAM Roles & Permissions documentation.
After deploying the template, there should be a new IAM role called "OwnstakCloudCredentialsRole" in your AWS IAM console.
Setting Up Credentials
Once you have deployed the IAM roles template:
-
Retrieve the External ID:
- In your AWS Console, go to Secrets Manager
- Find the secret named
ownstak/external-id - Click on the secret and retrieve the
ExternalIdvalue from the JSON structure - Copy this External ID value
-
Get the Role ARN:
- In your AWS Console, open IAM and note the ARN of the "OwnstakCloudCredentialsRole" role.
-
Configure in OwnStak:
- Navigate to your OwnStak organization
- Go to Cloud > Credentials
- Create a new credential entry with:
- Type: AWS Role
- Name: A descriptive name for your credentials
- Role ARN: The ARN of the OwnstakCloudCredentialsRole (e.g.,
arn:aws:iam::123456789012:role/OwnstakCloudCredentialsRole) - External ID: The External ID value you retrieved from Secrets Manager (must match exactly)
🔐 Security Reminder: Double-check that your External ID is entered correctly. A mismatch will prevent OwnStak from accessing your AWS account and could indicate a security issue.
Cloud > Storage
OwnStak needs an S3 bucket to store deployment artifacts. This allows you to:
- Restore previous deployments if needed
- Inspect deployment history
- Maintain an audit trail of changes
To set up storage:
- Create an S3 bucket in your AWS account.
- In your OwnStak organization, go to Cloud > Storage.
- Enter the bucket details.
You can also use another storage provider that is compatible with the S3 client protocol if you prefer.
Cloud > Backend
A backend consists of an AWS account and a dedicated region where your Lambda functions and public assets will be provisioned.
You can create multiple cloud backends for:
- Multi-region deployments
- Primary/failover setups
To set up a backend:
- In your OwnStak organization, go to Cloud > Backends.
- Create a new backend entry.
- Select AWS as the provider.
- Choose your desired region.
- Select the AWS credentials you created in the previous section.
- If you've created a custom VPC with private/public subnets, enter their corresponding IDs in the Network Configuration section. Leave blank to use the default VPC.
- Once your backend is configured, you can open it and start the provisioning process, which will prepare your AWS account for deployment.
For more detailed information about our integration with your AWS account, see the AWS Architecture Overview.
Important: The name you give to your backend will be used to construct links to your deployments, so choose a name that makes sense for your organization and use case.