
Prerequisites
- An Ownstak account with a fully set up organization
- A Next.js project (version 13.0.0 - 15.x.x)
- Node.js installed locally (version 18.x or higher)
Getting Started
1. Prepare your Next.js project
Create a new Next.js project by running:
npx create-next-app@latest
For existing projects, remove any provider-specific settings from your next.config.mjs file.
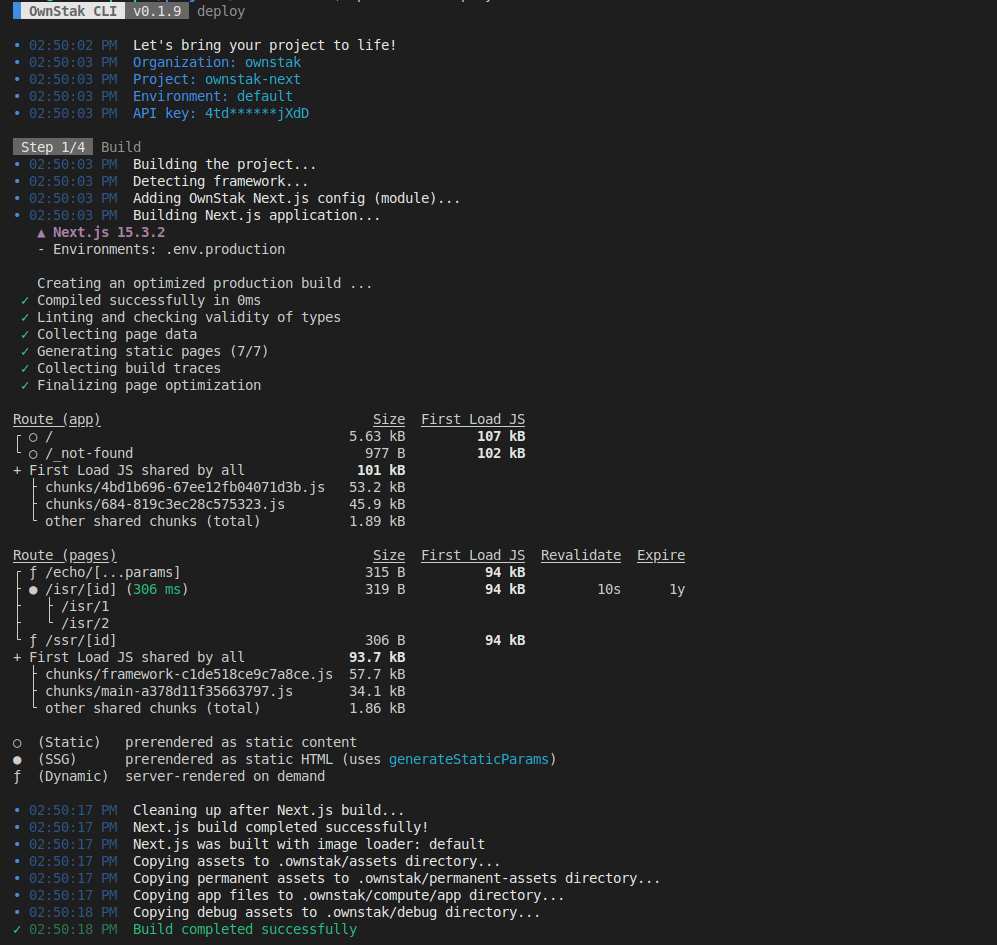
2. Deploy from your machine
Now, you can deploy the project from your machine by running:
npx ownstak deploy
When you run the deploy command for the first time, the CLI will guide you through the login and project configuration setup. Simply follow the instructions:


The organization and project names are stored in the ownstak.config.js configuration file for subsequent deployments, so you won't be prompted for this information again.
3. Deploy from CI
For CI and other non-persistent environments, you can skip the interactive deployment by providing the API key and other required options as command arguments.
You can generate a new API key for your account or project in the Ownstak Console under Settings > API Keys.
npx ownstak deploy --api-key=<your-secret-key> --organization=ownstak --project=ownstak-next --environment=default
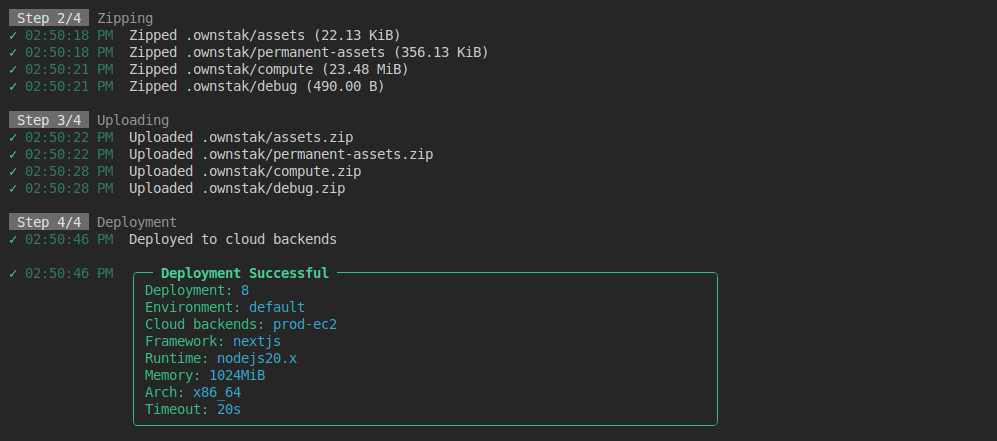
4. Done!
Your project is now live and deployed to your organization's cloud infrastructure. You can visit and test it using the environment and deployment links provided in the output:
- Environment link – Always points to the latest deployment in a given project environment
Example:
my-nextjs-app-development.aws-primary.my-org.ownstak.link - Deployment link – Always points to a specific deployment
Example:
my-nextjs-app-development-10.aws-primary.my-org.ownstak.link
Local testing
If your project doesn't behave as expected, you can build and test it locally before deploying.
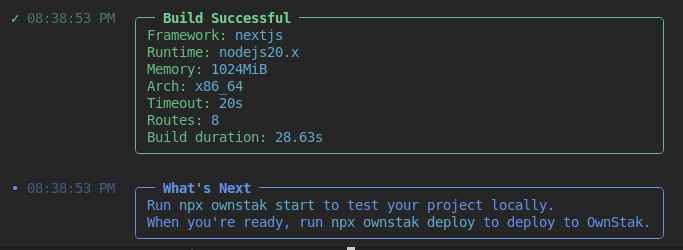
1. Build the project
Run the following command in your project directory to build your project without deploying it:
npx ownstak build
2. Start the project
Start the project and make sure it works for you locally with Ownstak:
npx ownstak start
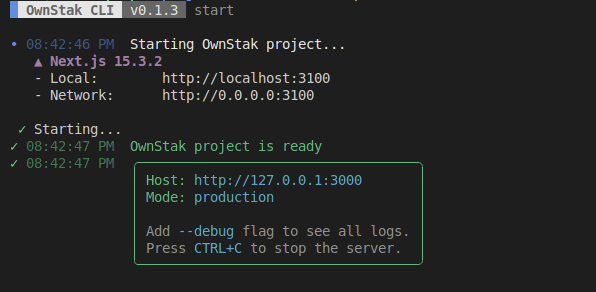
When you see the ready message, you can visit http://127.0.0.1:3000 (or the different outputted URL) in your browser.
Image Optimization
OwnStak Image Optimizer
By default, Ownstak replaces the standard Next.js Image Optimizer during the build with its own compatible optimizer, integrated into the Ownstak Proxy server for improved performance and better utilization of cloud infrastructure.
For security reasons, this optimizer currently does not support fetching images from external third-party domains. If you need this functionality, you can either switch back to the Next.js Image Optimizer or proxy the images through your own domain.
Next.js Image Optimizer
If you prefer to use the built-in Next.js optimizer instead, you can do so by explicitly setting the image loader property in the next.config.js file to default or another supported loader, along with the list of allowed domains from which images can be fetched (otherwise Next.js returns "url" parameter is not allowed error):
Example next.config.js:
export default {
  images: {
    // Use default image loader from Next.js
    loader: 'default',
    // Allow loading images on deployment and environment links under your organization
    // and production/dev domains
    remotePatterns: [
      {
        hostname: '**.<your-organization-name>.ownstak.link',
      },
      {
        hostname: 'my-ownstak-site.com',
      },
      {
        hostname: 'dev.my-ownstak-site.com',
      },
    ],
  }
}
See: Next Config documentation for more details
Middlewares
The middlewares on OwnStak platform are executed by the Next.js server inside compute. They run on all SSR (server-side-rendered) pages but not in front of static assets or SSG (pre-rendered) pages.
Caching
The OwnStak by default sets different cache-control headers for assets, permanent assets and pre-rendered pages with reasonable time for your CDN
for the best performance. It's expected to do cache purge via Webhooks after every deployment.
See CDN Configuration. Default Cache-control headers can be overridden.
Headers
OwnStak integrates with Next.js, so you can define custom HTTP response headers as you're used to in your next.config.js file.
OwnStak will read this config and apply the headers to corresponding SSG/SSR pages and static assets such as CSS/JS files.
You can also dynamically set response headers from SSR pages or define them in your ownstak.config.js file.
Here's an example next.config.js file with static headers:
export default {
  async headers() {
    return [
      {
        // Apply to all paths
        source: '/:path*',
        headers: [
          {
            key: 'X-Frame-Options',
            value: 'DENY',
          },
          {
            key: 'X-Content-Type-Options',
            value: 'nosniff',
          },
          {
            key: 'Referrer-Policy',
            value: 'strict-origin-when-cross-origin',
          },
        ],
      },
      {
        source: '/:path*',
        has: [
          {
            type: 'host',
            value: 'example.com',
          },
        ],
        headers: [
          {
            key: 'X-Custom-Header',
            value: 'custom-value',
          }
        ],
      }
    ]
  },
}
See Next.js config guide for more details.
Redirects
Static redirects can be defined in your next.config.js file.
OwnStak will read this config and apply the redirects to corresponding SSG/SSR pages and static assets such as CSS/JS files.
You can also dynamically set redirects from SSR pages or define them in your ownstak.config.js file.
Here's an example next.config.js file with static redirects:
export default {
  async redirects() {
    return [
      {
        source: '/old-page',
        destination: '/new-page',
        permanent: false, // 302 redirect
      },
      {
        source: '/blog/:path*',
        destination: '/new-blog/:path*',
        permanent: true, // 301 redirect
      },
    ]
  },
}
See Next.js config guide for more details.
Supported features
Ownstak supports most Next.js features. Here's a complete list of what you can expect: