Getting started
Before you can start deploying projects to OwnStak, you need to complete the following setup steps:
Step 1: Setup your Cloud Provider
The first step is setting up your cloud infrastructure to host and serve your deployments. OwnStak needs to connect to your cloud provider to manage resources, store deployment files, and run your applications.
You'll need to configure three main components.
Cloud Credentials - OwnStak needs permission to manage your cloud resources. You'll set up authentication using access keys, IAM roles, or SSO, depending on your security preferences.
Cloud Storage - Your deployment files need somewhere to live. You'll create a storage bucket (like S3) and configure the right permissions so OwnStak can store and retrieve your application artifacts.
Cloud Backend - This is where your applications actually run. You'll set up compute resources, configure networking and security settings, and define any environment variables your applications need.
For AWS users, our configuration guide walks you through each step in detail.
Step 2: Deploy Your First Project
Now it's time to deploy your first project! This is where OwnStak really shines - the deployment process is designed to be simple and interactive.
Start by opening your terminal and navigating to your project directory. Then run the deployment command:
npx ownstak deploy --organization your-org-slug
The CLI will guide you through the setup process with interactive prompts. It will ask about your project type, build settings, and any environment variables you need. Just follow along and OwnStak will handle the rest.
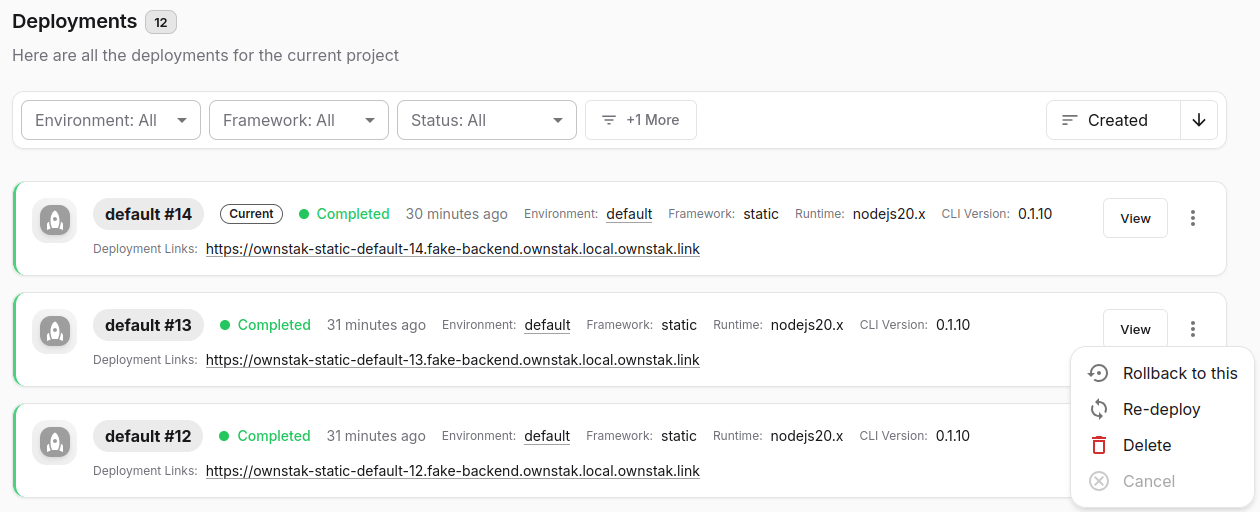
The deployment process typically takes a few minutes. You'll see real-time progress updates, and once it's complete, you'll get a live URL where your application is running.
If you're working with a specific framework, our Framework Guides have detailed instructions and best practices for each supported technology. Each framework has its own quirks and requirements, so it's worth checking the relevant guide for your stack.
Step 3: Configure Your CDN
For production applications, setting up a CDN is essential for both performance and cost optimization. A CDN will improve performance and reduce latency for your users around the world, while also significantly reducing your Lambda function costs by caching SSR pages and static assets.
You can use any CDN provider you prefer - AWS CloudFront, Cloudflare, or others. The setup involves pointing your CDN to your OwnStak environment and configuring the right headers so everything routes properly.
Our CDN Configuration guide has detailed, step-by-step instructions for the most popular CDN providers. We've included specific guides for AWS CloudFront and Cloudflare, with screenshots and exact settings to make the process as smooth as possible.
Step 4: Set Up Continuous Integration
Once your project is deployed and running, you'll want to automate your deployments so that changes are automatically deployed when you push to your repository. This saves time and ensures consistency across your team.
One popular CI/CD solution is GitHub Actions, which integrates seamlessly with OwnStak. With GitHub Actions, you can automatically deploy your project whenever you push changes to your main branch.
Setting up GitHub Actions involves:
- Creating a service account in OwnStak for secure authentication
- Adding your API credentials as GitHub secrets
- Creating a workflow file that builds and deploys your project
Our GitHub Actions guide walks you through the complete setup process with step-by-step instructions. While this guide focuses on GitHub Actions, you can use it as a reference for setting up other CI/CD solutions like GitLab CI, CircleCI, or Jenkins. The setup typically takes about 10 minutes, and once configured, your deployments will be fully automated.
Self-Hosting Option
If you prefer to have full control over your deployment workflow, you can use OwnStak's self-hosting approach to deploy applications directly to your own cloud provider using our open source CLI and Lambda proxy. This gives you complete control over your deployment process while using the same deployment patterns as the managed platform.
For complete setup instructions, see our Self-Hosting Guide.
Need Help?
If you run into any issues during setup:
- Check our Platform Guide for common troubleshooting steps
- Review the CLI Commands documentation
- Contact support at support@ownstak.com